

Landau Bar Installation
for Hearses and Funeral Vehicles
G. Burns removable landau bars are designed to install without drilling, side panels, or permanent vehicle modifications. This guide walks through the basic installation process for mounting your landau bars to a flat, smooth glass surface using the included removable fastener system.
Before installing, make sure your vehicle has been properly measured and that your selected landau bar size fits the mounting area. If you are still choosing a size, review our landau bar sizing and selection guide before beginning installation.
Watch the Landau Bar Installation Video
Watch our installation video before beginning. The video shows how the fastener system works and gives a visual overview of how the removable landau bars are positioned, mounted, and secured to the vehicle.
What this video covers:
How to position the landau bar on the window
How the front fastener helps guide placement
How to apply the remaining fasteners
How to secure the bar with the included hardware
What to watch for during curing and final tightening
Important Landau Bar Installation Notes
For the best installation, choose a clean, dry, flat glass surface. The mounting area should be smooth and free of dirt, wax, moisture, silicone, or other residue that may prevent the fasteners from bonding properly.
Before installing, review these important notes:
Install only on a flat, smooth glass surface.
Do not install on curved, textured, damaged, or uneven glass.
Make sure the glass and fasteners are at least 65°F before installation.
Do not install in rain, snow, or wet conditions.
Allow the fasteners to cure for 24 hours before regular use.
Remove the landau bars before entering an automatic car wash.
Replacement fasteners are needed if transferring the bars to another vehicle.
Step-by-Step Landau Bar Installation
Before You Begin
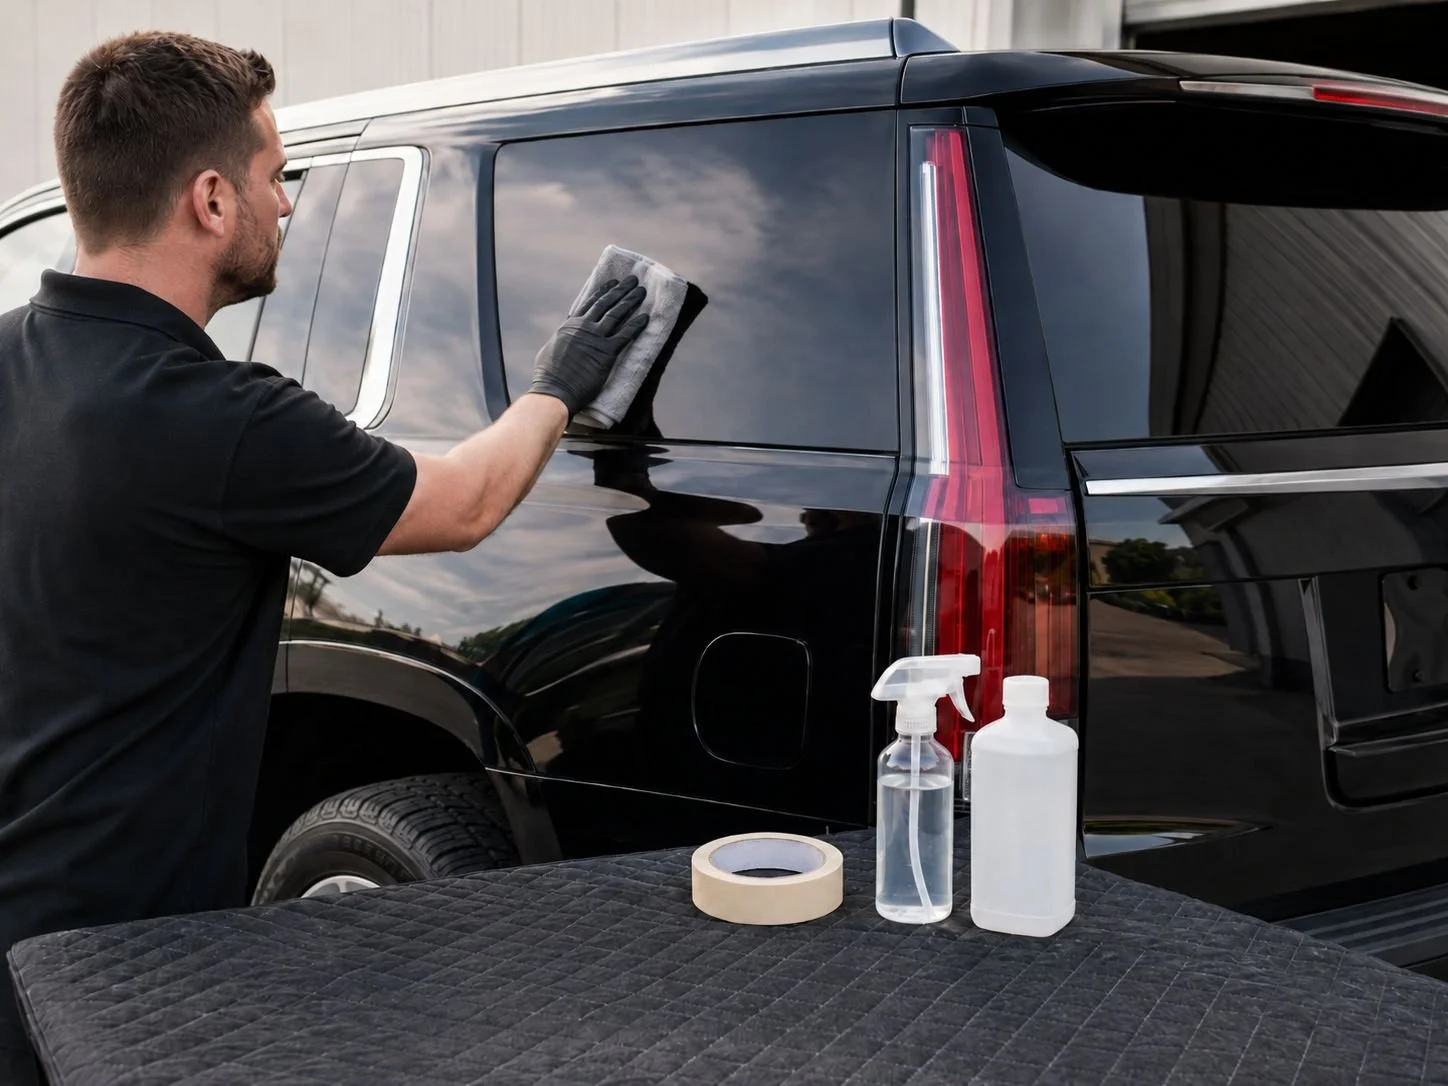
Before installing your removable landau bars, gather the necessary supplies and ensure the mounting area is ready.
Supplies needed:
Masking tape
Rubbing alcohol
Windex or glass cleaner
Clean microfiber towel
Temperature reminder: Make sure the glass is at least 65°F for proper adhesion. If needed, warm the area after cleaning with a hair dryer or heat gun.
Step 1: Position the Landau Bar on the Window
Hold the complete landau bar against the window and determine the correct position on the vehicle. Make sure the bar is oriented for the correct side of the vehicle, either the driver’s side or the passenger’s side.
Once you are happy with the placement, use masking tape to mark the location of the front-end stud just below the bottom edge of the bar. This will help guide installation.
Step 2: Clean the Window Thoroughly
Clean the mounting area with Windex or glass cleaner, then wipe the area with rubbing alcohol. Make sure the glass is fully dry and free from dirt, wax, silicone, or other residue before installing the fasteners.
Step 3: Install the Front Fastener First
Remove the front-end fastener from the landau bar and install it on the glass near the masking tape mark.
This front fastener acts as a pivot point and helps you position and align the landau bar during the rest of the installation.
Step 4: Prepare the Remaining Fasteners
Remove the plastic backing from the remaining fasteners. Avoid touching the adhesive surface, since oils from your skin can reduce adhesive strength.
Once the fasteners are placed, avoid repositioning them. Adhesive fasteners are not designed to be removed and reused.
Step 5: Press the Bar Firmly Into Place
With the remaining fasteners ready, position the landau bar and press it firmly onto the glass. Hold it firmly in place for 1 to 2 minutes to help the adhesive secure a strong grip.
Step 6: Allow the Fasteners to Set and Check the Hardware
Step 7: Repeat on the Other Side
Leave the end acorn nuts loose and press the studs against the glass. Over the next 24 hours, periodically check the end studs and gently tighten the acorn nuts as needed until the fasteners are fully adhered.
Important: Never tighten the acorn nuts more than finger-tight.
Once the first landau bar is installed, repeat the same process for the opposite side of the vehicle.

After Installation
After both bars are installed, allow the fasteners to continue curing for the full 24-hour period. During that time, periodically check the end studs and gently tighten the acorn nuts as needed. Do not overtighten.
For long-term care:
Remove the landau bars before entering an automatic car wash
Avoid direct high-pressure spray at the fasteners
Use replacement fasteners if transferring the bars to another vehicle
If you plan to move the landau bars to another vehicle, replacement fasteners are required. The original adhesive fasteners are not reusable once removed.
Download the Installation Instructions
Need a printable copy? Download the G. Burns landau bar installation instructions for step-by-step reference during installation.
Need Help Before Installing?
If you are unsure about placement, sizing, or whether your vehicle has a suitable mounting surface, contact G. Burns before installing your landau bars.